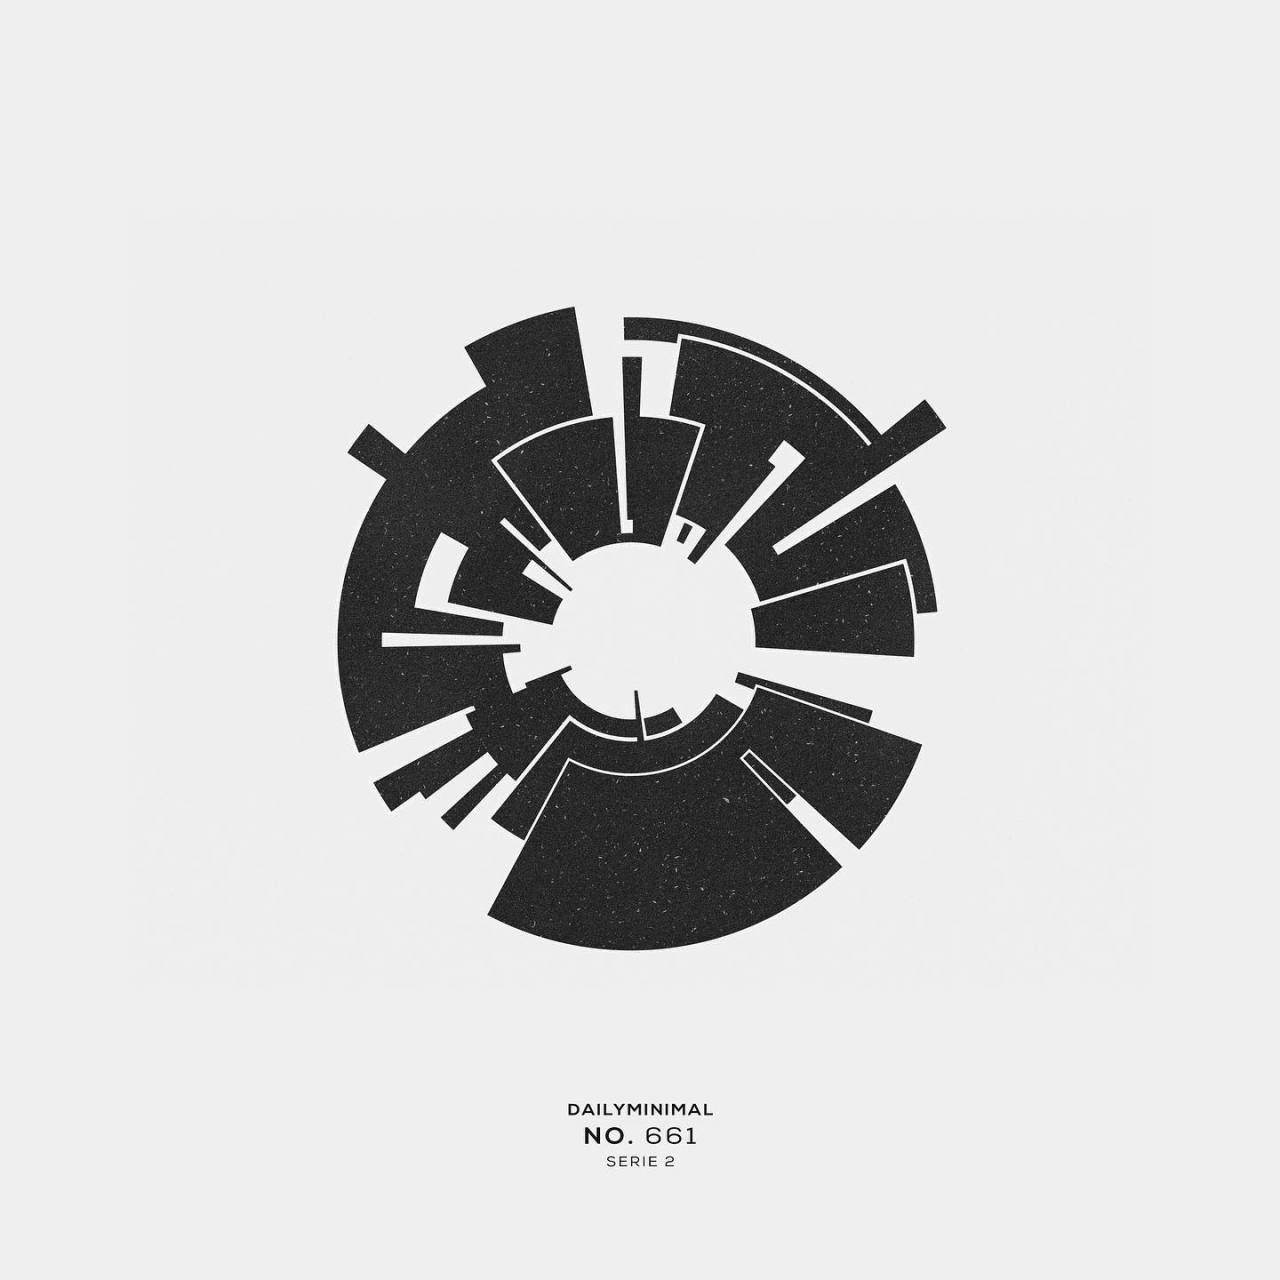
The idea of reverse engineering a design makes a whole other kind of art appreciation emerge. Lots of stuff that I just enjoyed in the past becomes completely distracting. Daily Minimal, "an ongoing artistic performance based on minimalism and geometry" by Pierre V., is a parade of systematic drawing studies that begs to be unpacked. I fixated on this one, no. 661 series 2, a few weeks ago.
Systematic, balanced, awesome. If you weren't going to draw it one piece at a time, how might you think about doing it? And how to do it with variations.
I figured the basis is an array of wedges, so let's start there and then figure out the rest later
Starting with the basics of a Center and a Point
Then deriving a vector from center to Point
Using that vector to derive a line, and rotation of that line around the center
Lofting those lines to make a surface
Then repeat this process with a whole bunch of starter points and various rotations
So far so good, but this is where things get interesting. There's a visual assumption of 3 dimensionality here, despite the aggressive flatness of the graphics. The sense of overlap, combination, and negative space is pretty rich in the original. So I figured making an actual 3 dimensional aspect and working back to a 2D was the approach
Extrude everything up, but in a random step, so assortments of extrusions end up at the same elevation
Union the whole thing into a solid, so you get big planes of continuous surface
Grab all the horizontal surfaces and move them down to the same level
Thicken the surfaces and make a thin shell to create space between
Now I can just start manufacturing new ones with different densities, # of pieces, etc.
All fine, but eventually I want to plot these on my pen plotter, so I need to make a crap-ton of poché. I was using some hatch-fill tools in Inkscape, but found that it was just faster and better controls to do a giant intersection in Dynamo.
All done! Ready to export 718 x 6 curves to an SVG file.
Dynamo File. (Uses some of the Math.Random function enhancements added in 2.10, which you can get here or make sure you have a 2022 version of Revit, Alias, Advance Steel, Civil 3D, FormIt, or Robot Structural Analysis,)


Very "Space 1999"
ReplyDelete